by Jenni Fritzlan

Setting up a pottery studio will require some investments, but once you have the equipment, with minimal maintenance, it will last for many years. For the hobbyist, setting up shop could be as simple as acquiring a wheel, a work table and a small shelf unit to store your work in progress. But for the serious potter, setting up shop will require quite a bit more equipment.
Before you begin purchasing equipment and tools, you will need to determine where you will be able to set up your new shop. Some questions to consider would be:
- Do I want to make wheel thrown pots or just do hand building?
- Do I have a place to put a kiln and if so, is there an adequate power supply to the location?
- Will I glaze my pots in my studio, or will I need to take them somewhere else to glaze and fire them?
If hand building is the only thing you want to do, an extra room in your house or a corner of the garage would be an ideal place to set up a small studio. All that would be required would be enough space for a work table (a 4′ x 8′ table is ideal), a small electric kiln and a shelf to keep your work in progress and some tools on.
For a wheel throwing studio, you will need a space large enough to have a wheel, a work table, a clay storage area, (ideally under the work table), shelves to keep your work on, a sink with running water, a tool storage area, a separate room for glazing and kiln firing.
Equipment
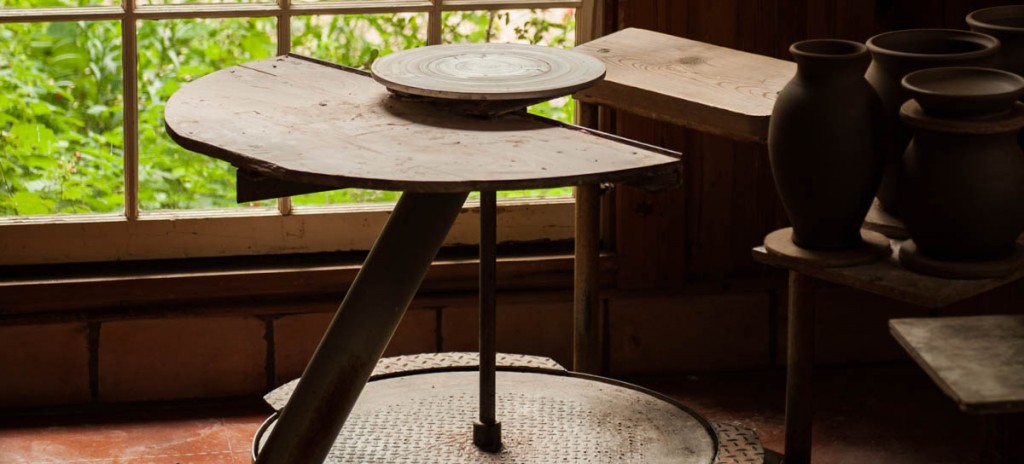
Here we will focus mainly on setting up a wheel throwing studio that will allow for small scale production work. The first piece of equipment we will discuss is a potter’s wheel.
Wheel
There are many wheels on the market and as with most things, they range in price and quality from cheap and flimsy to expensive and heavy-duty professional quality. In our studio, we have several Brent wheels. These wheels start at about $950 and go up to about $1700. They are good all-purpose wheel, that are suitable for many different skill levels. If you think pottery is something you will never make a career of, but will just do as a hobby, the Brent IE is an ideal wheel. It has a 1/4 HP motor. For the more serious potter, you will want to get a Brent C or a Brent CXC. The C wheel has a 1/2 HP motor and will handle most tasks quite well; the CXC has a 1 HP motor which handles larger amounts of clay (50 to 100 lbs.) well. Here we have talked about the Brent wheels, but there are many other brands available as well. Some other excellent brands are Thomas Stuart/Skutt wheels and Shimpo wheels. Whichever brand you choose, keep in mind the HP level that would best suit your needs.
Work Table
If you have enough space, a 4′ x 8′ sheet of medium grade plywood covered with heavy canvas is ideal for a work table. If you don’t have that much space, cut the sheet of plywood down to whatever size fits your needs and cover it with the heavy canvas. It is very important to stretch the canvas very tight and staple it sown on the underside of the plywood. After sometime, the canvas may stretch out and need to be re-stretched over the table. This is a very practical work table and makes a great surface for preparing clay, or for any other work you might need to do, except glazing. For glazing, you will need to cover your table with plastic, or lay down a sheet of Formica on top of it. You don’t want glaze to get mixed in with your clay, nor to stain the table top. Ideally, you should have a separate table for glazing.
 Storage Shelf
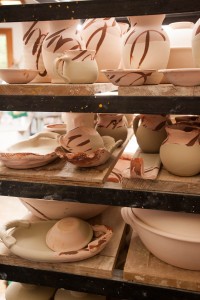
Once your pieces are made, you will need to have a storage shelf to keep them on until you are ready to fire or glaze them. A simple wooden shelf works well, but if you are cramped on space, you can construct a simple wall shelf out of 2 x 4 and 1″ dowels. Drill 1″ holes into two 2 x 4’s and secure them to the wall. The lower end of the 2 x 4’s should have a block underneath them so that they angle out. Cut the dowels, cut them into 12″ pieces and tap them into the holes in the 2 x 4’s. You can them place ware boards on the pegs and store your pots on them.
Damp Room
It is very helpful to have a place that you can store damp pieces that still need to be finished (such as pieces that need to be trimmed or have handles applied). An old refrigerator with shelves still in it works well. Another option would be a metal or wooden shelf that has a sheet of plastic snuggle wrapped around it, so that it is totally encased. Another option might be a small three shelf green house with plastic on the bottom shelf. The goal is to have a completely encased area that will keep the pots damp.
 Kilns
Kilns
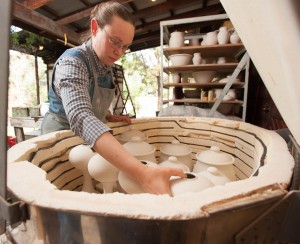
There are many electric kilns available, but not all kilns are created equal. Over the last several years, there has been a growing interest in pottery and many people have set up hobbyist studios at home. Many of them purchased the cheapest possible kilns, used them for a few years and put them into storage until they decided to sell their equipment. Many of these kilns are easily obtainable, but they are no good. Some brand names of kilns to stay away from are Olympic and older models of Paragon. (Newer versions of Paragon kilns are decent for small scale work, but I would not recommend them for large scale production.) The best brand we’ve come across is Skutt kilns. They are well built, very well calibrated (the control panels are very accurate) and dependable. These kilns are expensive but they are worth the price! If you can find a new/used Skutt kiln for a reduced price, I would recommend buying it, as long as all the elements work and there is no body damage. There are two types of kilns. One has a computerized controller and the other is manually operated. The computerized kilns are great for controlled glaze firing cycles. They are also convenient for low maintenance bisque firings. The manual kilns are just as good, but require a lot more attention. Most manual kilns are equipped with a device called a “kiln setter” that will shut the kiln off at the proper temperature. Regardless of what type of kiln it is, kilns should never be left unattended while firing.
 Glaze Area
Whether you make your own glazes or buy pre-made powders and mix them yourself, you will need a specified area in your studio to keep your glazes and to glaze your pots. Five gallon buckets with lids work well for holding mixed glazes. You will want to set the buckets on a table, so they are at a comfortable level for you to work with. Setting them on the floor will be very hard on your back and having to too high of a table will make it difficult for you to glaze your pots. A low table between, 2′ and 2 1/2′ tall will be perfect for most people. In you glazing area, you also need to have a work table. This table can be any size, just so long as it can hold the pots you are currently glazing and still have enough room for you to work on.
Tool/Bat Storage
A central location to keep your bats and tools is important. A mobile cart with a shelf on top is ideal, but any type of shelf that has horizontal bars to hold the bats and a shelf on top to hold containers with tools will work. Depending on the size of your studio and how much production work you plan on doing, your shelf could be as small as 2′ wide, 1′ deep and 3′ tall, or as big as 4′ x 2′ x 4′. Really, you can make or purchase a shelf of any size to suits your needs. You just don’t want to take up valuable space on your work table.
Clay Storage
A good place to store bulk clay would be under your work table. A simple shelf raised up a few inches off the floor is important to go under the clay, as any sweeping or mopping will allow dust or water to collect under your boxes or bags. Cleanliness is important in your studio. The dust created from dry clay contains silica and should not be inhaled. One of the best ways to avoid excessive dust is to not leave clay scraps sitting around to dry and clean up later. Water left on the floor around clay will create mold, aside from being a slipping hazard. Good hygienic practices and keeping your studio clean means keeping it safe!
Tools can be purchased from clay supply houses, or hand made. I would recommend buying a set to begin with and when you feel comfortable with them, you could try making some yourself. All the tools listed here are, unless otherwise noted, Kemper tools. We use them because they are inexpensive and last fairly well, but there are many other brands on the market that are just as good. The tools that are specifically marked, I do not recommend using the Kemper brand.
List of Tools
Here is a list of the basic tools you will need to get started.
Needle tool: (pro tool) used for throwing and scoring. $3.
Wire tool: Used to cut clay. A tip on making your wire tool last longer: keep it stretched tight while cutting clay with it, don’t cross it back over on its self as you cut. If the wire gets kinked, the individual wires that make up the cable will break and can stab into your hand or fingers. (K35) $2.75
Wooden triangle rib: used for throwing. (RB2) $4
Wooden bowl rib: used for shaping bowls. (RB4) $4
Sherrill Mud Tools rubber ribs: There are several different sizes and shapes of these ribs as well as hardness levels. These serve several different functions. They are colored to differentiate between hardness levels. They get increasingly firmer in this order: red (softest), yellow, green and dark blue. We have found these ribs to be invaluable tools in the shop. They work great for anything from polishing pots to throwing with. $7
Sponge: used to add and take away water while working with the clay. $3
Wooden knife: used for throwing. (WT6) $3.50
Trimming tool: (Dolan brand is best) There are several different shapes of trimming tools that serve different purposes. $7-$12
Clean up tool: used to trim or cut small pieces of clay. (K23) $3.
Ruler: this is helpful for making your work more accurate, especially when making lidded pieces. $1-$4
Glazing tongs: used to hold your pieces while glazing
Turn table: used for glazing, small hand work or anywhere else that a turn-able surface is needed.
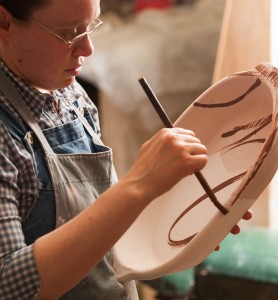
Paint brushes for glazing: a 1″ hake brush is one of the best brushes for glazing. For smaller detail, the all purpose Yasutomo squirrel hair brush is the best.
Additional Tools
There are a few more tools that are good to have, but not essential to get started with.
Large bowl rib: these are made of wood and are better for large bowls. (RB5)$5
Simple carving tools: carving designs in your clay is very enjoyable and there are many different carving tools available. The best thing to do if you want to get into carving is buy some that look like they will do what you want and keep trying them until you find the best one for you.
Throwing stick: useful when you need to shape a piece that your hand won’t fit down into.
Calipers: (Lid Master or Kemper) these are very helpful for making lids fit! The Lid Master calipers are handy because you only have to set them once. One end of the caliper measures the bot; the other end measures the lid. The Kemper works well also, but only measures one direction. Lid Master $17-$33. Kemper $9-$11.
This is a basic list of tools and equipment that you will need to get started. As your work grows there are many other things that you can get, once you have a feel for what the basic tools do.